
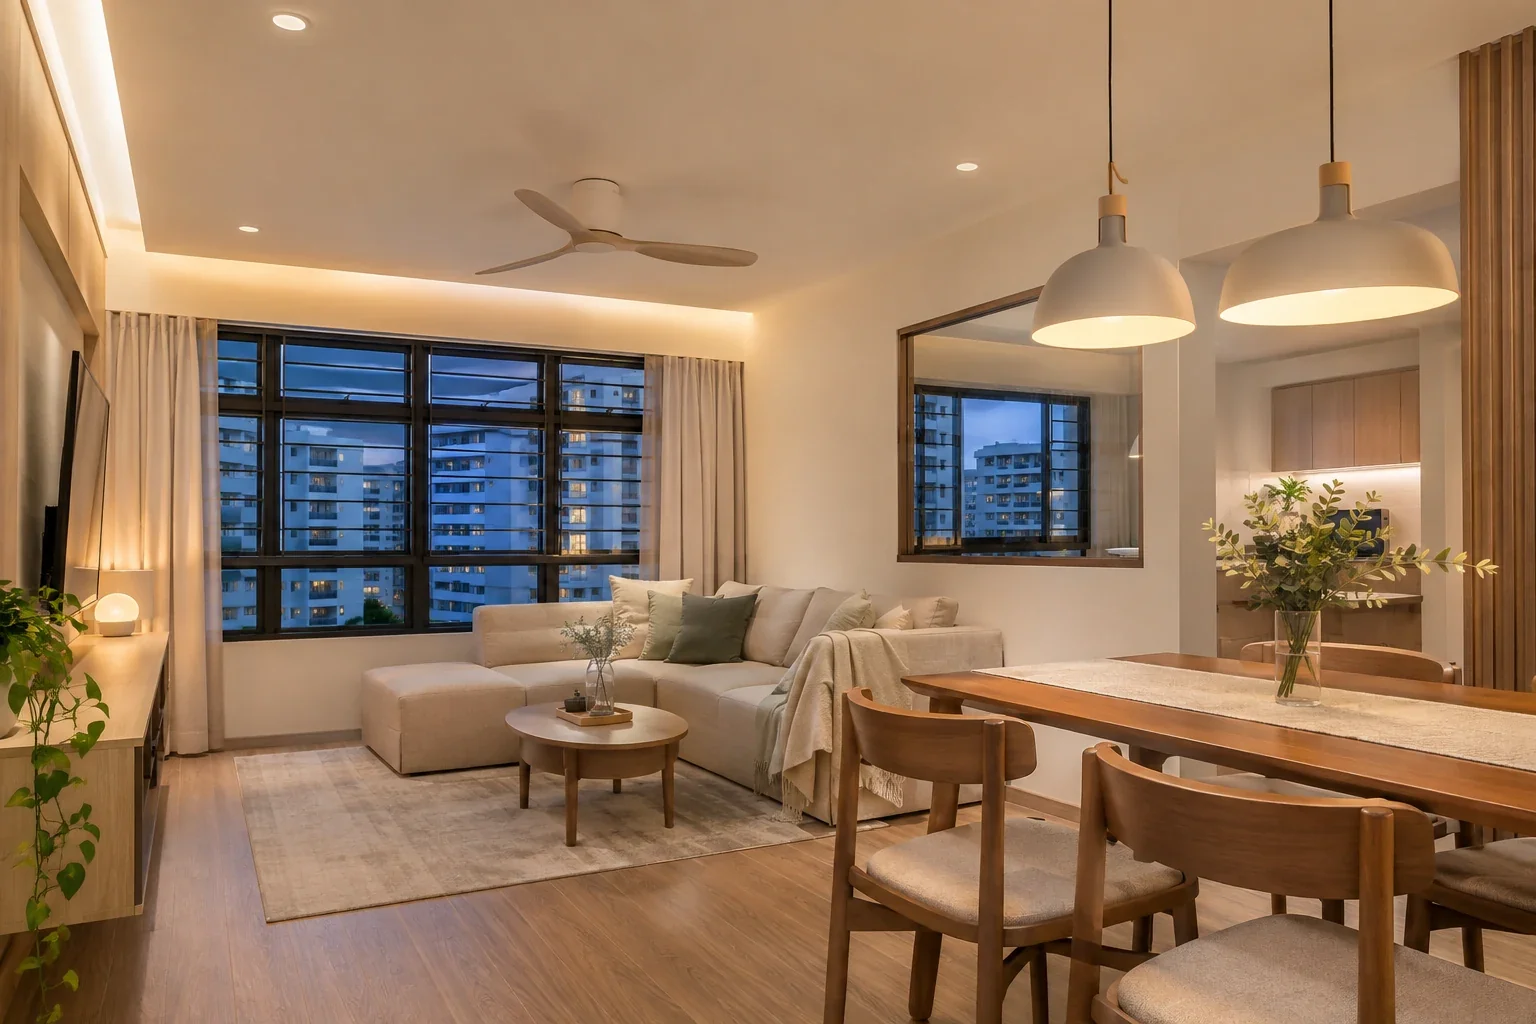
For a Singapore home, 3000K is a practical starting point for living and dining areas. Try 2700K for a softer bedroom light and 4000K where you want a neutral look for tasks, such as at a kitchen worktop or study desk. Choose the light for what you do in each spot, then check how it looks against your actual finishes.
01. Understand what Kelvin tells you
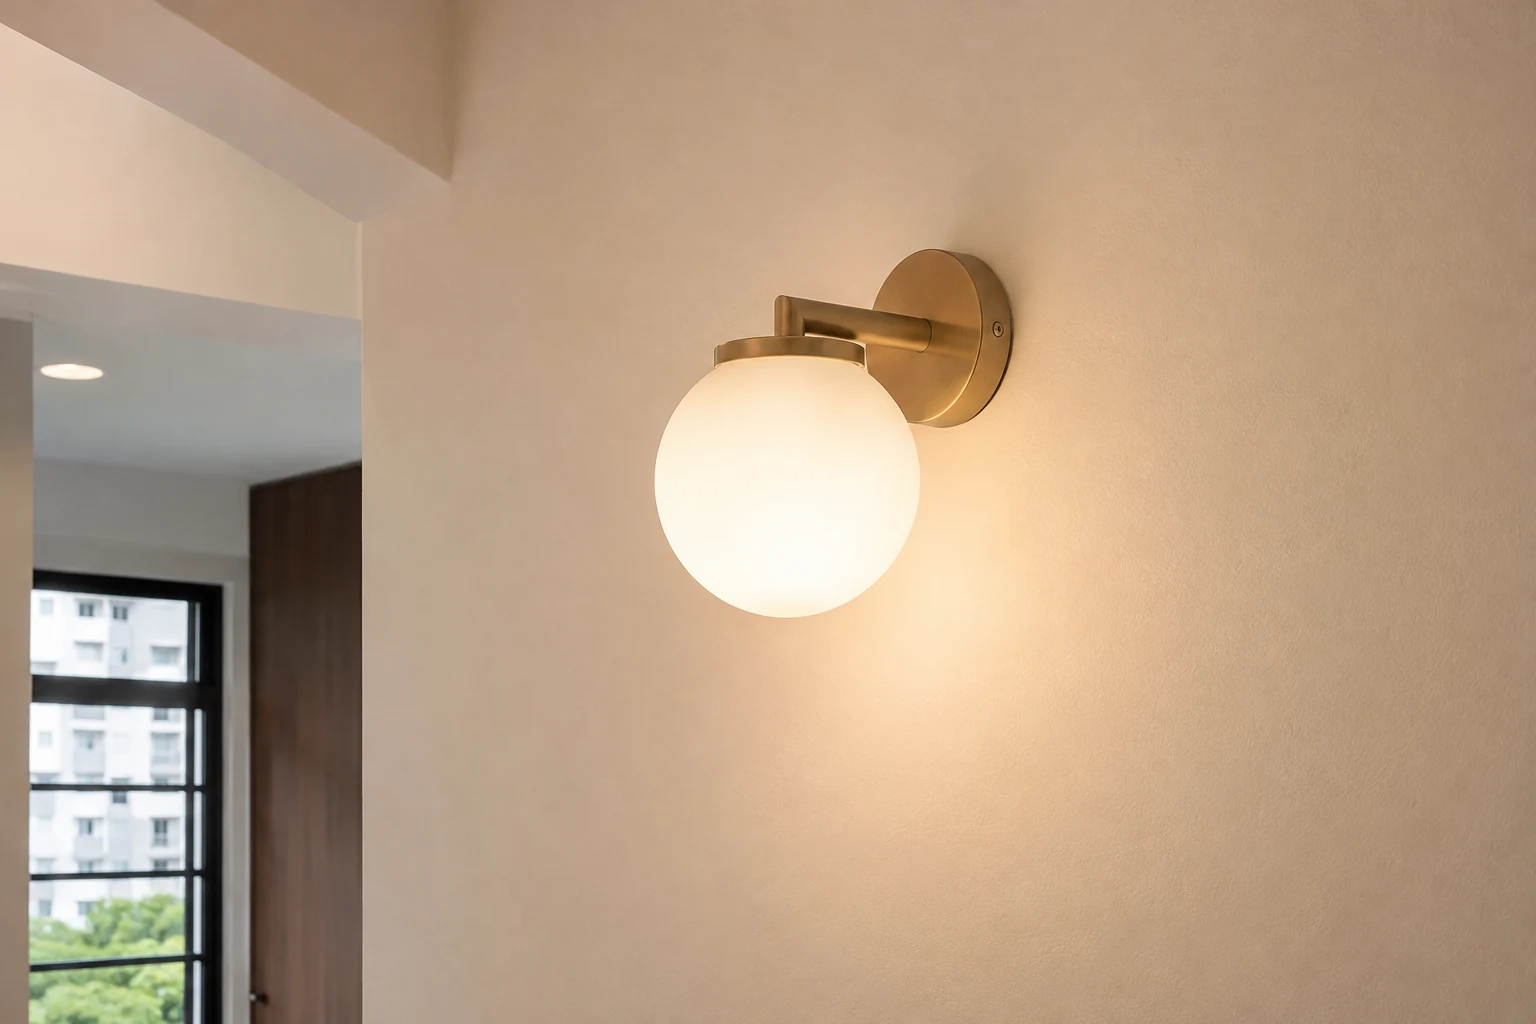
Correlated colour temperature (CCT), measured in Kelvin (K), describes how warm or cool the light looks. Lower numbers look warmer and more yellow. Higher numbers look cooler and more blue-white. Shop labels such as “cool white” and “daylight” vary, so compare the number on the box.
Check lumens separately. They tell you how much light a fitting emits. A 3000K fitting can emit as much light as a 6500K fitting. What reaches the worktop or book also depends on the beam, mounting height and where you put the light.
| Colour temperature | How it looks | Where to try it |
|---|---|---|
| 2700K | Soft warm white with a golden tint | Bedside lamps and low-level evening light |
| 3000K | Warm white with less yellow than 2700K | Living room, dining area, bedrooms and connected hallways |
| 4000K | Neutral white with less warmth than 3000K | Kitchen worktop, study desk, vanity and laundry area |
| 5000–6500K | Cooler white, with a more noticeable blue tint towards 6500K | A separately switched utility or work light if you prefer a cooler appearance |
02. Start with warm white where you unwind
In the living and dining area, start with 3000K for fittings you often use together. A shaded pendant over the dining table lights the meal, while a wall light or cove light can soften the room when you watch TV. Check for reflections on the screen and whether you can see the bare light source from the sofa.
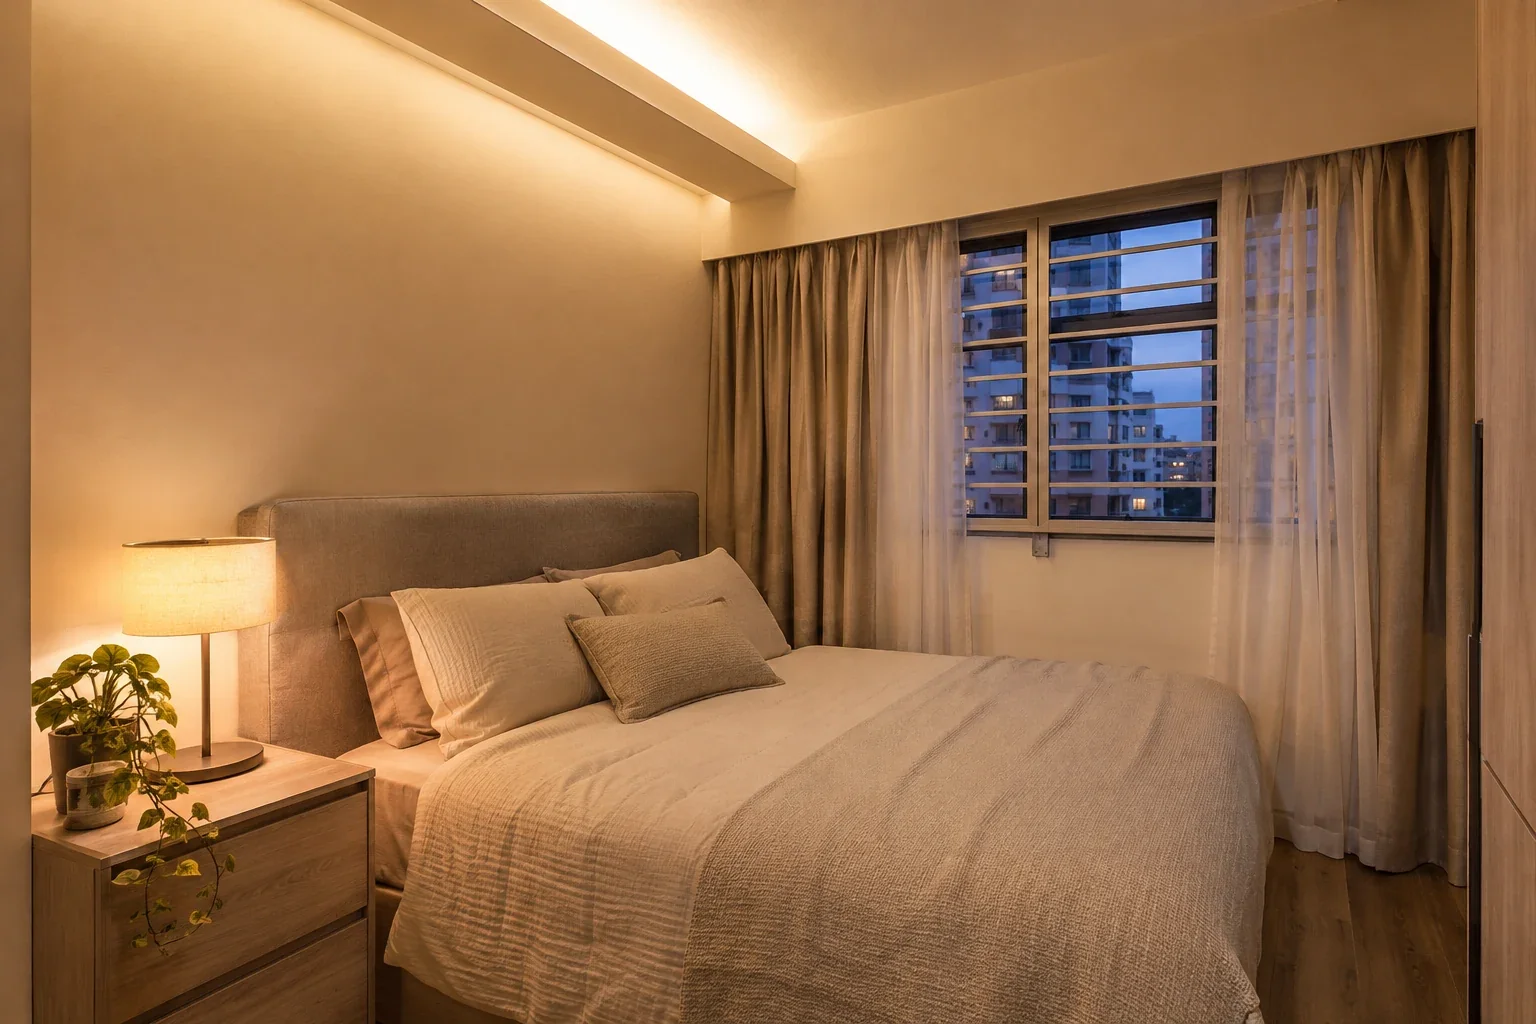
In the bedroom, try 2700K for a bedside lamp and aim its light at the page. If you also dress or work there, give the wardrobe or desk its own light and switch. That lets you turn on just what you need.
03. Light the work surface in kitchens, bathrooms and studies
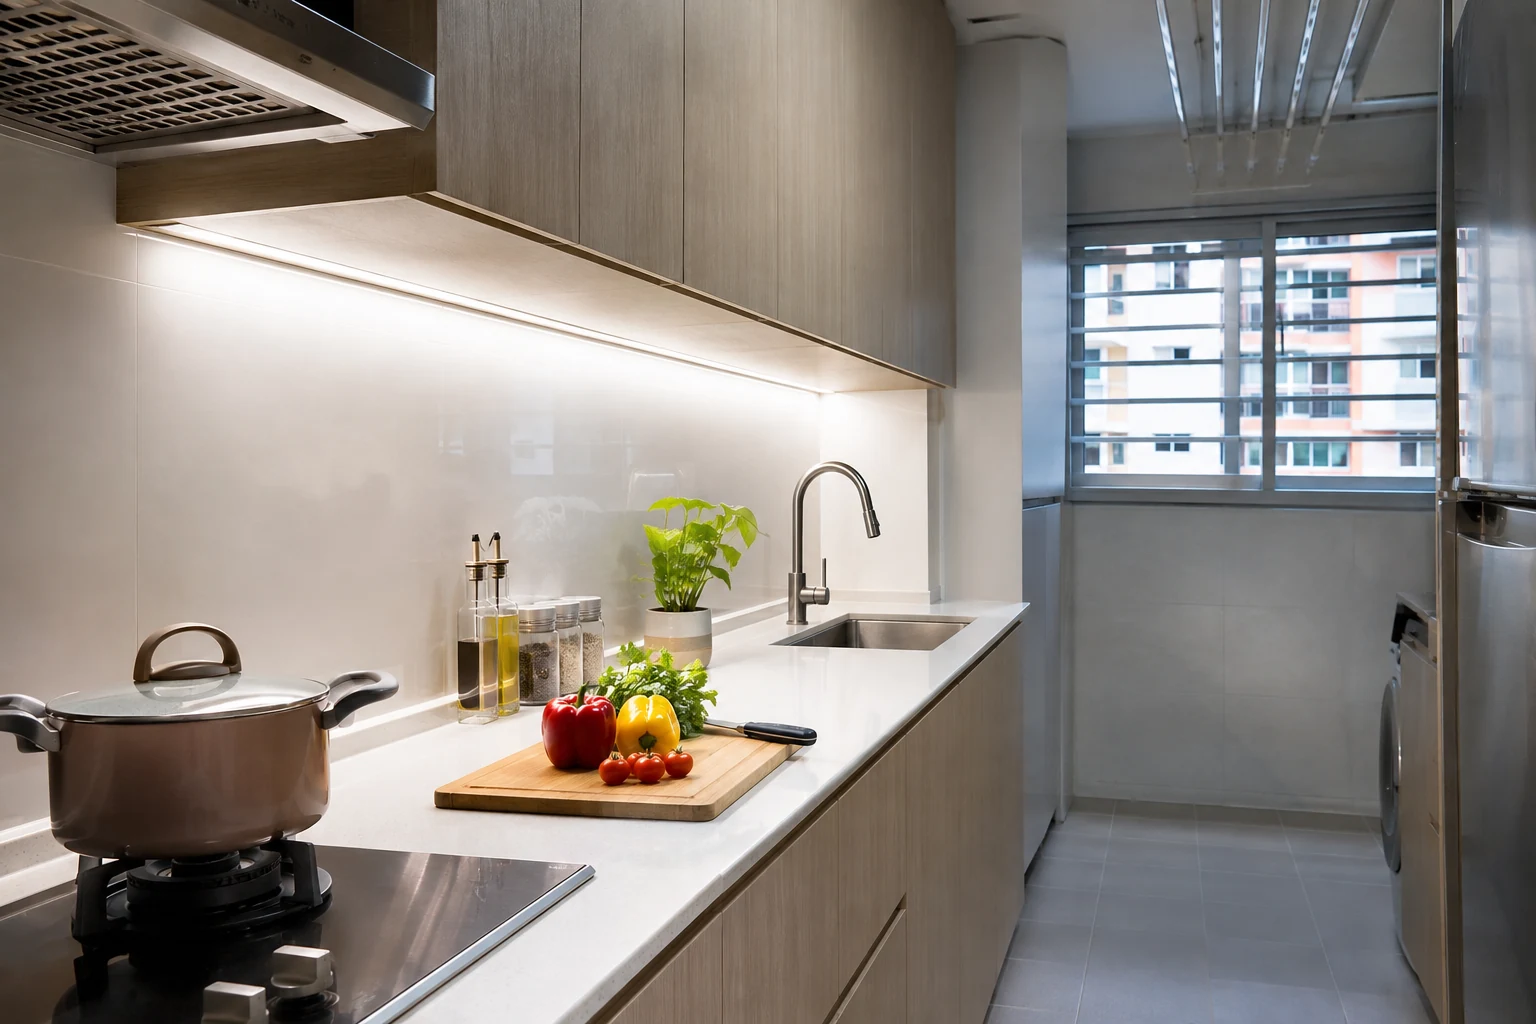
Try a diffused 4000K strip under the upper kitchen cabinets. It puts light in front of you where you chop and wash, while a ceiling fitting behind you can leave the worktop in your shadow. Check for reflected LED dots in glossy backsplashes and worktops.
At a vanity, use a diffused front or side light so that your face is evenly lit. A downlight directly overhead can cast shadows below the eyes and chin. At a desk, position an adjustable lamp to avoid your writing hand’s shadow and screen reflections. In both cases, 3000K can work if you prefer a warmer look and the task is well lit.
04. Plan how different lights will look together
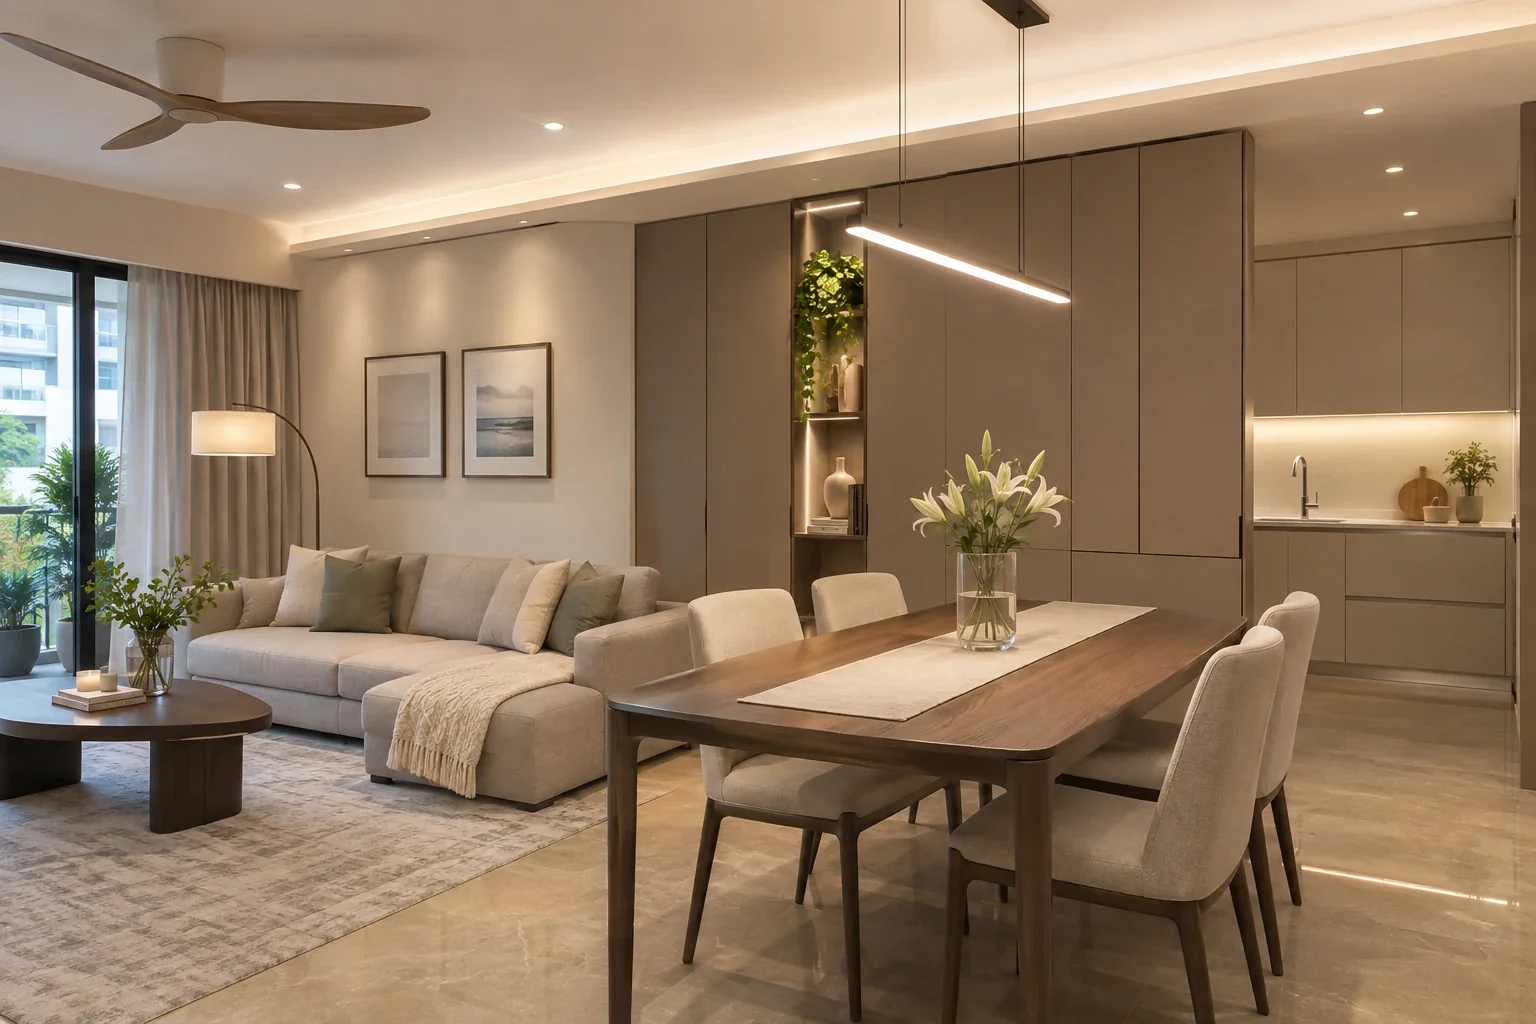
In an open-plan HDB flat or condo, stand at the entrance and look across the living room, dining area and kitchen. Matching the Kelvin of the general lights along that sightline gives you a consistent base. Put a neutral worktop strip on a separate switch so it can come on for food prep and go off when you sit down to dinner.
Decide which lights should turn on together before the wiring and carpentry drawings are finalised. A standard dimmer changes the light level. Dim-to-warm fittings also shift warmer as they dim, while tunable-white fittings let you select a colour temperature within their supported range. Ask the supplier to demonstrate the actual fitting, driver and control together, including how low it can dim and what setting returns after power is switched off.
05. Test the actual fittings with your finishes
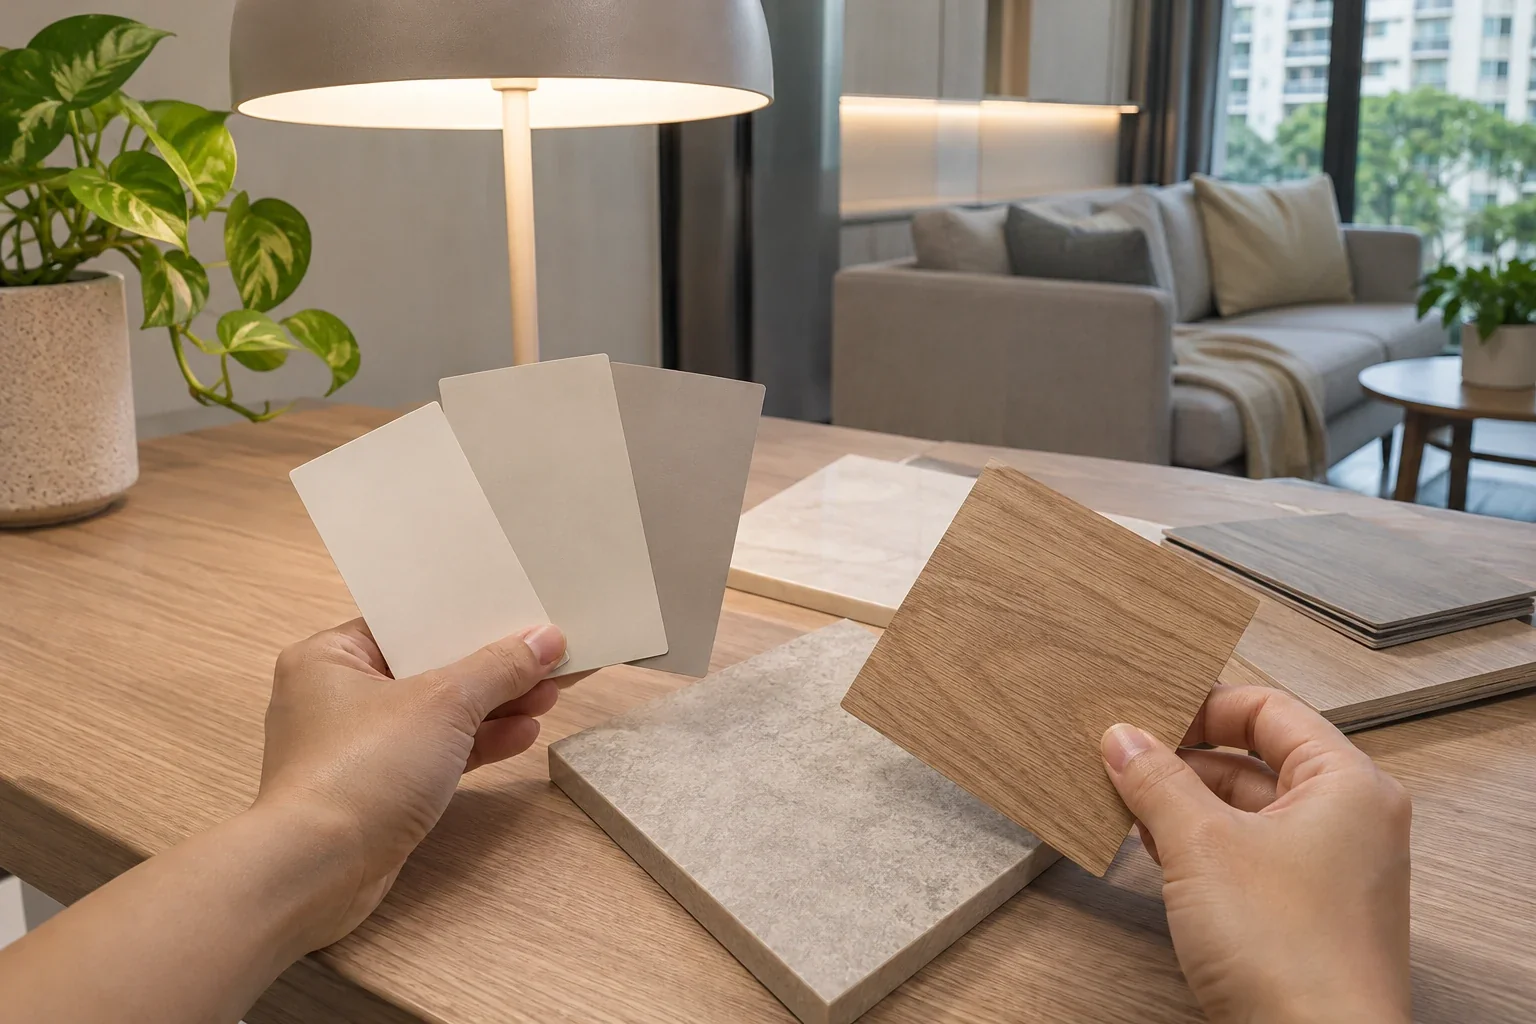
Bring your paint, laminate and tile samples together under the fittings you plan to buy. Check them in daylight and after dark. A warm light may bring out the golden tones in oak, and a neutral light may suit a cooler grey tile. The effect depends on the actual finishes, so look at the samples in the room if you can.
Check the colour rendering index (CRI) as well as Kelvin. CRI describes how faithfully a source renders colours against a reference. Consider CRI 90 or above where colour matters, such as at a vanity or kitchen worktop. Even two fittings marked 3000K can have slightly different tints. View the samples side by side, especially if the fittings will light the same wall or be visible together.
For help coordinating light points and controls with your furniture and carpentry, see our electrical planning guide.
For information and reference only. The scope, methods and sequence for your renovation depend on actual site conditions, applicable requirements and the on-site assessment and professional judgement of the specialists carrying out the work.